
How to Add an SPF Record on Cloudflare Without Breaking Email
Your SPF record on Cloudflare needs one TXT record, edited rather than duplicated, with one all at the end. Here's how to add it and the DKIM CNAME safely.

Your emails are landing in spam, or Gmail is telling you your domain isn't authenticated, and your DNS lives in Cloudflare. You're probably wondering where the SPF record goes and whether you'll break your email by touching it. No worries. You didn't do anything wrong, and this is usually a five-minute fix.
Here's the short version. In Cloudflare, open your domain's DNS records and look for a TXT record that starts with v=spf1. If one exists, edit it and add your sending service to it. If none exists, add one. Never end up with two. Keep a single "all" at the very end, stay under 10 DNS lookups, and set the DKIM CNAME to DNS only (the grey cloud). Skip down to whichever step you need.
What an SPF record does, in plain words
SPF is a DNS record that lists who is allowed to send email for your domain. Think of it as a guest list at the door. When your email arrives at Gmail, Gmail checks the sending server against your list. If the server isn't on it, the email looks suspicious.
Since February 2024, Gmail and Yahoo expect senders to authenticate their mail. It's no longer news, it's just how things work. WordPress mail sent straight from your web host's PHP mail is often unauthenticated, which is why contact form and order emails vanish. If you want the longer story, we compared SendWP with WordPress's default mail.
Step 1: Find out if you already have an SPF record
This step matters most, so don't skip it. Two SPF records on one domain break SPF entirely, and both stop working. Many domains already have one, because Google Workspace, Microsoft 365 or your host added it years ago.
In Cloudflare:
- Log in and pick your domain.
- Open DNS, then Records.
- Look at the TXT rows. You want one whose content starts with v=spf1.
Cloudflare's own page on creating DNS records shows the same screen if yours looks different.
Found one? Don't add another. Go to Step 2. Found none? Go to Step 3.
Step 2: Edit the existing record, don't add a second
Click Edit on that TXT row. The content will look something like this, though yours will differ:
v=spf1 include:_spf.google.com ~all
Everything between v=spf1 and the final all is the guest list. Each include: is one sender you've approved. To add SendWP, put include:spf.sendwp.com into that list, before the all, and leave the rest alone. Your SendWP dashboard shows the exact value on its Deliverability page, and our guide to authenticating your domain walks through it.
Two rules while you're in there:
- Keep exactly one all, at the very end. Anything after it gets ignored.
- Don't delete the senders already in the list. If Google Workspace sends your staff email, removing it sends their mail to spam. That's a bad afternoon.
Save it. That's it for SPF.
Step 3: No SPF record yet? Add one
Click Add record and fill it in:
- Type: TXT
- Name: @ (that means your root domain)
- Content: v=spf1 include:spf.sendwp.com ~all
- TTL: Auto is fine
Cloudflare only proxies A, AAAA and CNAME records, so a TXT record is always DNS only and there's nothing to get wrong there.
Step 4: Watch the 10 lookup limit
SPF allows at most 10 DNS lookups. Each include: counts, and the includes inside those includes count too. Go over 10 and SPF fails, even though every line looks right.
If you only use one or two services, you're fine. If you've collected five or six (a newsletter tool, a CRM, a helpdesk, your mailbox host), count them. Remove any sender you no longer use. That's the cheapest fix, and it's the one we'd do first. The limit comes from the SPF standard, RFC 7208.
Step 5: Add SendWP's DKIM as a CNAME
SPF checks the server. DKIM is the signature on the check: a DNS record that proves the email really came from you and wasn't changed on the way. SendWP's DKIM record is always a CNAME, never a TXT record, so if a guide tells you to paste a long TXT value, that's for another service.
Add a record in Cloudflare with Type CNAME, then copy the name and target exactly as SendWP shows them. Then comes the part that trips people up: set Proxy status to DNS only, the grey cloud. Mail records need to resolve to their real values, and an orange cloud sends them through Cloudflare's proxy instead. Cloudflare explains the difference on its proxy status page.
Also check that Cloudflare didn't paste your domain onto the end of the name. If the name shows up as something.yourdomain.com.yourdomain.com, trim it.
Step 6: Connect SendWP and send a test
If you haven't installed the plugin yet, the getting started guide takes you through it. You'll connect from the SendWP screen under Tools in WordPress.
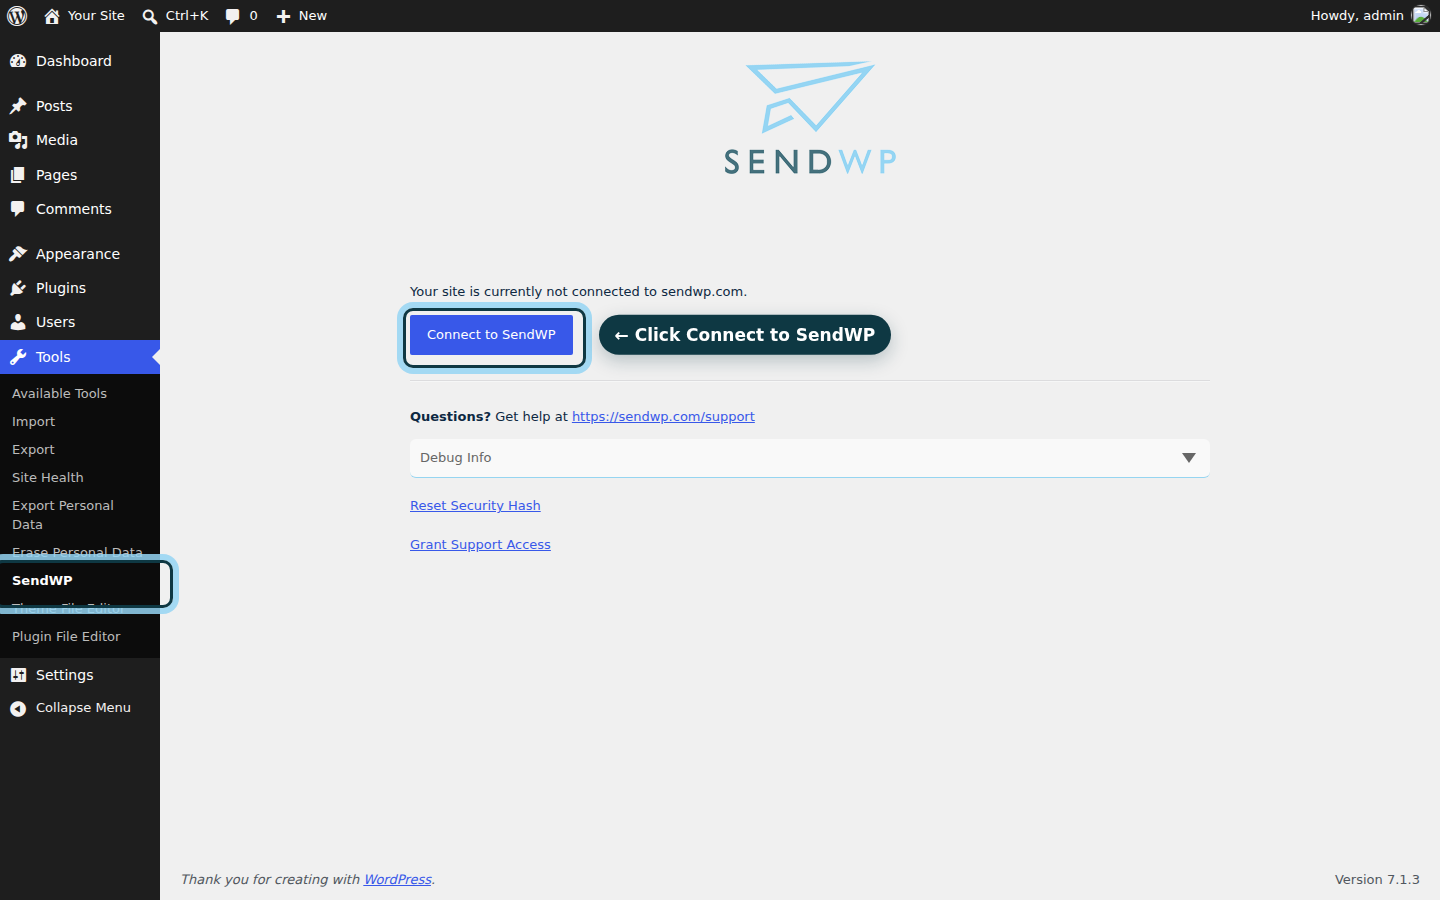
Then send a test email to a Gmail address and check it didn't go to spam. DNS changes can take a little while to show up, so if the check fails right away, wait and try again before you change anything.
SendWP can also tell you the most basic DMARC record to publish. That's the extent of our DMARC help, so for policy decisions you'll want another source.
If it still doesn't work
- Two SPF records. Go back to Step 1 and look again. This is the most common one.
- More than 10 lookups. Trim senders you don't use.
- An orange cloud on the DKIM CNAME. Switch it to grey.
- Contact form emails still missing. Our post on Contact Form 7 not sending email covers that side.
- Stuck on a record. Ask us and we'll look.
Using GoDaddy for DNS instead? The steps are the same idea, only the screens differ.
Do the DNS once and stop thinking about it
Your SPF record now lists the right senders, DKIM signs your mail, and the proxy isn't in the way. If you'd rather not become your own email admin, get started with SendWP for $1 your first month.