
How to Set Up DKIM and DMARC for WordPress Email
Gmail or your host says to set up DKIM and DMARC. Here's how to add both for WordPress email: a CNAME for DKIM, a basic DMARC record, and a quick way to test.

Your contact form says "Thanks, we got it!" and the email never shows up. Or Gmail has started putting your order receipts in spam. Or your host sent a message telling you to "set up DKIM and DMARC," and you have no idea where that happens. You didn't break anything, and this is fixable, usually in a short sitting.
Here's the short version. DKIM and DMARC are two DNS records, which are settings that live wherever you manage your domain. You add a DKIM record (for SendWP it's a CNAME), you add a basic DMARC record, and you send a test email to check that both pass. Below, we'll do each step in that order. Jump to the testing section if you've already added them and just want to confirm.
Why Gmail and Yahoo want these records
Since February 2024, Gmail and Yahoo require senders to authenticate their mail. That means SPF or DKIM for everyone, and DMARC as well for bulk senders. Bulk senders also need one-click unsubscribe and low spam rates. It's no longer news, it's just how things work now.
Mail sent straight from your web host's PHP mail usually carries none of this. Many hosts also block or throttle that route outright. That's why WordPress email so often goes missing, and why you tend to hear about it from a customer first. If you'd like the longer comparison, we wrote one on SendWP compared with WordPress's default mail.
What DKIM does, in plain words
DKIM is a DNS record that proves an email really came from you. Think of it as a signature on a check. The email goes out signed, the receiving server looks up your record, and if the signature matches, the email is trusted a little more.
That's all it does. It doesn't make your email better, and it won't fix a message that looks like spam. It just stops your domain from looking forged. Our SPF, DKIM and DMARC explainer goes deeper.
Step 1: Get your DKIM record from SendWP
First, install the plugin and connect your site. If you haven't done that yet, our getting started guide walks through it with screenshots.
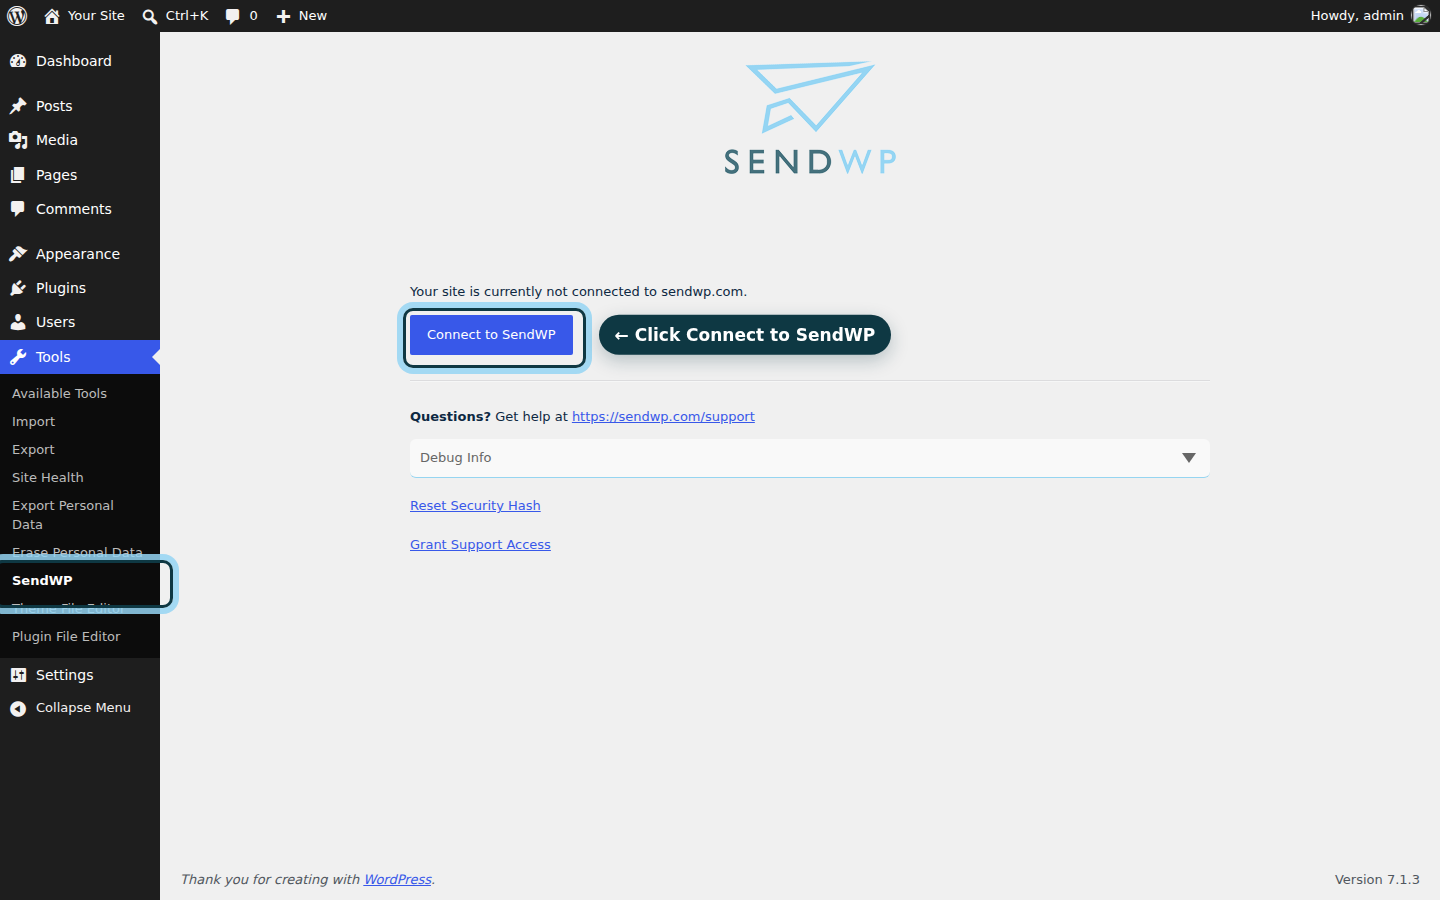
Once you're connected, SendWP gives you the DNS records to add for your domain. You'll find them on your site's Deliverability page in the SendWP dashboard, and our guide to authenticating your domain walks through each one. Open it in a second tab so you can copy values across.
Step 2: Add the DKIM record as a CNAME
Log in to wherever your DNS is managed. That's often your domain registrar, your host, or Cloudflare. Add a new record and set the type to CNAME.
Here's the part that trips people up. SendWP's DKIM record is always a CNAME, never a TXT record. A lot of DKIM guides online tell you to paste a long key into a TXT record. That's right for some services, but not for this one. If your DNS screen offers both, pick CNAME.
Then copy the name and the value exactly as SendWP shows them. Some DNS screens add your domain to the end of the name for you, so if yours does, don't type it twice. Save, and that's the DKIM record done. DNS changes can take a while to show up, so don't panic if it isn't instant.
Step 3: Check your SPF record while you're there
DMARC passes when SPF or DKIM lines up with your From address, so it's worth a quick look at SPF now. The one rule to know: a domain can only have one SPF record. Two of them on the same domain breaks SPF entirely. If you already have one, add to it. Don't create a second.
Step 4: Add a basic DMARC record
DMARC is a DNS record that tells receiving servers you use SPF and DKIM, and what you'd like done with mail that fails. Think of it as a note to the bouncer saying "check IDs for this address."
SendWP can tell you the most basic DMARC record to publish, and that's the help we give on DMARC. We don't give advice on policies, and we don't read DMARC reports for you. If you need either of those, a DMARC specialist is the right person to ask.
The most basic record is a TXT record on the name _dmarc, with a value that starts with v=DMARC1 and a policy of p=none. That policy means "just watch, don't reject anything." Use exactly the record SendWP gives you for your domain. If your domain already has a DMARC record, leave it alone and don't add a second.
Step 5: Check that both work
Wait a little for DNS to update, then send a test email from your site. A contact form submission or a password reset works well. Send it to a Gmail address you control.
In Gmail, open the email, use the three-dot menu, and choose Show original. Near the top you'll see lines for SPF, DKIM and DMARC. You want to see PASS next to each.
If DKIM says fail or doesn't appear, the usual causes are a typo in the CNAME, a domain name added twice, or DNS that hasn't updated yet. Check the record against what SendWP shows you, wait, and send another test. If it still won't pass, ask us and tell us your domain.
What if you already use another sending service?
If you already have a sending service you're happy with, keep it. Add the DKIM and DMARC records that service gives you, and you're done. Those two steps work the same way, only the values change. A free SMTP plugin is plenty for many sites that already have a good sender behind them.
If you'd rather not become the person who manages email records, that's where we come in. SendWP sends your WordPress email, helps you authenticate your domain, and keeps a log of what went out. You can see what SendWP does on one page.
When it goes wrong later
Records can break after the fact. Someone changes DNS hosts, or a second SPF record sneaks in. Keep the test from Step 5 handy and run it again whenever you move your domain or change your email setup. Having a log of what WordPress sent also helps you spot a problem before a customer does.
Your emails now carry proper ID, Gmail can check it, and you know how to confirm it. Nice work.
If you want this handled with a sender that helps you authenticate your domain, get started for $1 your first month.